On this page (10 sections)
Good landscaping projects are planned in the same order every time. Use this checklist from first idea to the day the materials arrive — each step links to the tool that does the work.
1. Decide what the space is for
- How will you use it — seating, play, growing food, easy maintenance?
- Where does the sun fall through the day, and where does water collect after rain?
- What must stay (trees, utilities, access) and what can go?
2. Measure and sketch
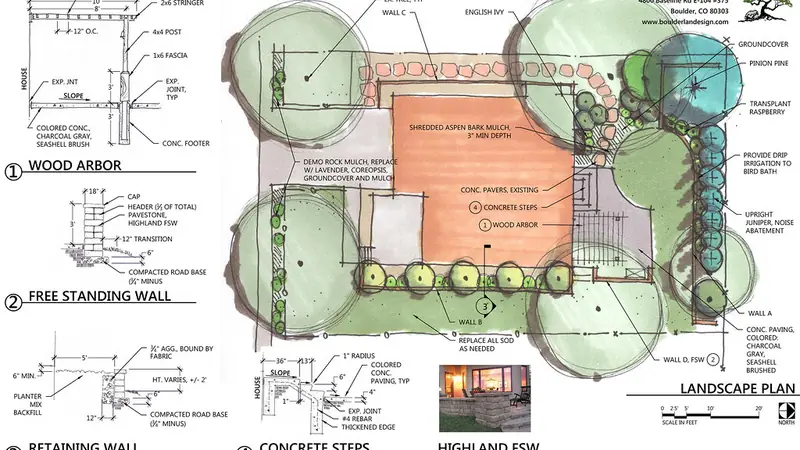
- Sketch the site from above and measure every area — see how to calculate square footage.
- Note slopes with the Slope Calculator; they affect drainage, walls and steps.
3. Check before you dig
- Locate buried utilities through your local utility-locating service before any excavation.
- Check property lines and any permit rules for walls, fences and drainage.
4. Choose materials and depths
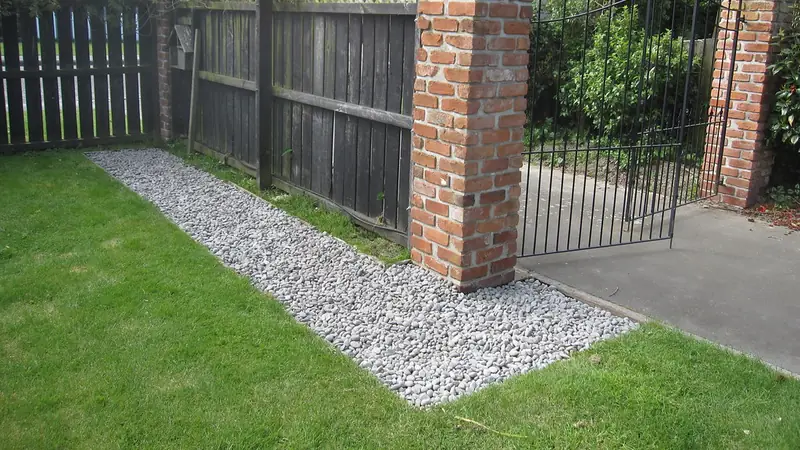
- Paths and drives: see planning a gravel path and pea gravel vs crushed stone.
- Beds: soil, compost and mulch depth.
- Patios and walls: base, bedding and block specifications from the manufacturer.
5. Calculate every quantity
List each zone in the Garden Material Planner, or use the individual calculators — gravel, topsoil, mulch, pavers, wall blocks, edging, fabric, plants. Add a small allowance once, not at every step (see material waste).
6. Budget
Get quotes, compare bags with bulk, and total everything with tax and a contingency in the Landscaping Budget Calculator.
Tools and equipment
- Measuring: tape, string line, stakes, line level or laser level.
- Digging and moving: spade, rake, wheelbarrow; a turf cutter for large lawns.
- Compacting: hand tamper for small areas, plate compactor (rental) for bases.
- Cutting: saw or splitter for pavers and blocks, knife for fabric, shears for edging.
- Safety: gloves, eye and hearing protection, and a dust mask for cutting.
Timing
- Hard landscaping (walls, paths, patios) comes before soil, lawns and planting.
- Avoid working wet clay soils, which compact and smear.
- Plant and seed in the seasons recommended for your region and plant types — your local extension service or nursery can advise.
7. Order and schedule
- Find suppliers with the supplier finder and ask the right questions.
- Order in the order you build: base materials first, then surfaces, then plants and mulch.
- Book perishable items (sod, plants) for the day you install them.
- Keep the PDFs — they are your materials list on site.
8. After the job
- Record what you actually used against what you ordered; it makes the next estimate better.
- Keep a little spare material for repairs and top-ups.
- Note maintenance: mulch top-ups, joint sand, edging checks.
Worked examples are generated by the same tested calculation engine as our calculators. See our editorial policy and methodology.