On this page (11 sections)
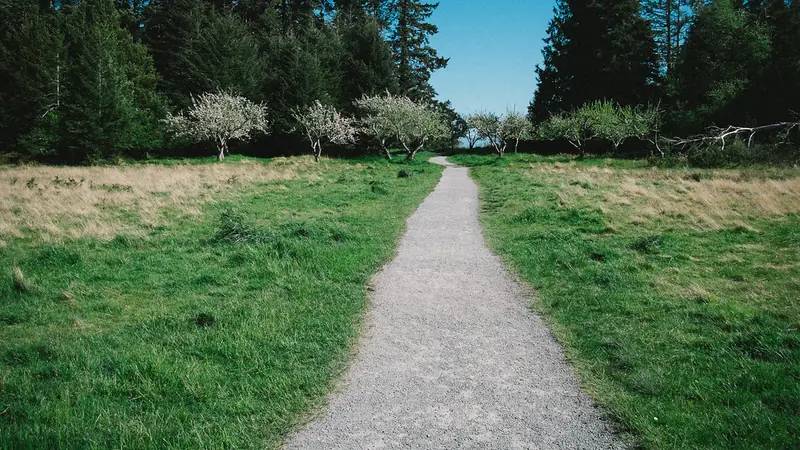
A good gravel path is planned before a spade goes in: where it leads, how wide it is, what holds the edges, what lies underneath and where the water goes. This guide takes you through those decisions in order and finishes with a complete, printable materials list for a typical path. For the arithmetic of oddly shaped paths, see the companion guide on calculating gravel for a garden path.
Step 1: Decide where the path goes and what it is for
Walk the route you naturally take — from the back door to the shed, or around a border. Paths that follow real routes get used; paths that fight them get short-cut across the lawn. Note anything the path must carry: wheelbarrows, bikes, mowers or bins. That decides the width and the surface.
Step 2: Choose the width
Width depends on how many people use the path at once. The University of Florida’s IFAS extension advises that walkways for more than one person should be at least 3 feet wide. As a planning guide:
- Single-file garden path: about 2½ to 3 feet.
- Two people side by side, or a main route: wider — many designers suggest around 4 to 5 feet.
- Wheelbarrow route: at least the barrow’s width plus room for your feet either side.
Mark the edges with string lines or a hose and live with them for a day or two before digging.
Step 3: Choose the surface
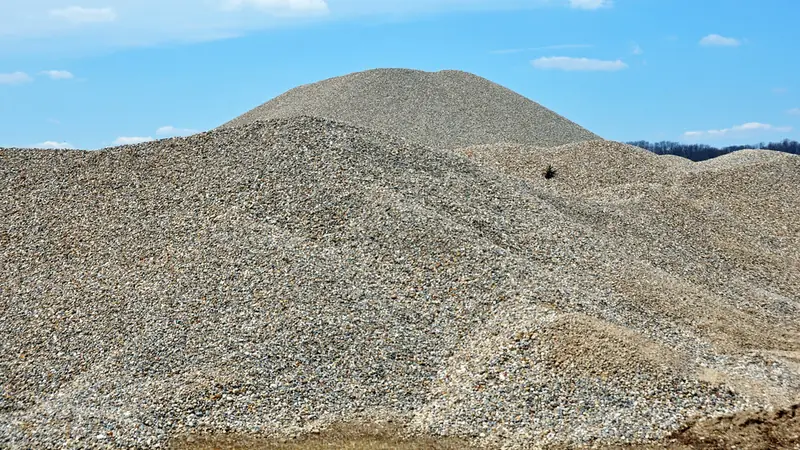
Rounded pea gravel is comfortable and decorative but moves; angular crushed stone is firmer and better for wheels. Our comparison of pea gravel and crushed stone covers the trade-offs. A common, reliable build is a compacted crushed-stone base with a thin pea gravel top.
Step 4: Plan the edging
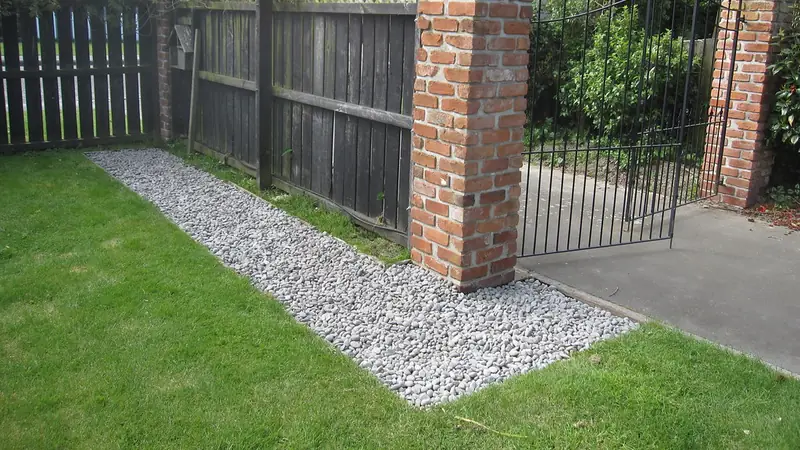
Loose gravel needs a firm edge to stop it spreading into lawns and beds: steel, timber, brick or stone set slightly above the gravel surface. Edging length is the path’s perimeter — both sides, plus any ends that are not against a wall or patio.
Step 5: Plan the layers and depth
Garden paths usually have two layers: a compacted base and a decorative top layer. Typical planning depths are 2–3 inches for the top layer; the base depends on your ground and how the path is used, with firmer, deeper bases for soft ground or wheel traffic.
Dig to the combined depth of both layers, so the finished surface sits level with (or just below) the surrounding lawn or edging.
Step 6: Plan for drainage
Water lying on a path softens the base and washes gravel away. Give the path a slight fall to one side or a gentle crown so water runs off, and make sure it drains away from buildings rather than towards them. Guidance for gravel roads applies the same principle on a larger scale: shape the surface so water leaves it quickly.
Step 7: Decide on weed control
Clear existing weeds and roots before building. A permeable landscape fabric under the stone reduces weeds coming up from below, though seeds that land on top will still germinate, and opinions differ on whether fabric is worth it on well-built paths. If you use fabric, lay it under the base and overlap the joins.
Step 8: Calculate the materials — worked example
A 30 ft × 3.5 ft path: a 3-inch compacted crushed-stone base and a 2-inch pea gravel top (5% extra on the top layer).
| Item | Calculation | Quantity |
|---|---|---|
| Area | 30 × 3.5 ft | 105 ft² |
| Excavation | 105 ft² × 5 in ÷ 324 | 1.62 yd³ of soil to remove |
| Crushed stone base | 105 × 3 ÷ 324 | 0.97 yd³ before compaction allowance |
| Pea gravel top | 105 × 2 ÷ 324 × 1.05 | 0.68 yd³ → order 0.75 yd³, or 37 bags of 0.5 cu ft |
| Edging | 2 × 30 + 2 × 3.5 ft | 67 ft (less any ends against a wall) |
Ask your supplier how much loose base material they recommend for a 3-inch compacted layer, and add it as an allowance.
Step 9: Build in the right order
- Mark out the path and remove turf and soil to the planned depth.
- Level and firm the bottom; fit the edging.
- Lay fabric if you are using it.
- Spread and compact the base in thin layers, building in the fall or crown.
- Spread the top layer evenly and rake it level.
Step 10: Keep it looking good
Rake the surface occasionally to level it, pull stray weeds while they are small, and top up the decorative layer every few seasons as it thins. Keeping the edging firm does most of the work of keeping the gravel where it belongs.
Get the quantities for your own path with the Pea Gravel Calculator, or add the base, top layer and any side paths as zones in the Garden Material Planner for one printable list.
Sources
- UF/IFAS Gardening Solutions — Walkways in the Landscape — Path width should suit the number of people using it; walkways for more than one person at least 3 feet wide.
- FHWA — Gravel Roads Construction & Maintenance Guide (2015) — Shaping, crown and drainage of gravel surfaces. Not a national specification.
- ASTM D448 — Standard Classification for Sizes of Aggregate for Road and Bridge Construction — Defines size numbers such as No. 57 and No. 8.
Sources were checked when this guide was published. Where published guidance differs, this guide says so; for structural work, follow your local specification.
Worked examples are generated by the same tested calculation engine as our calculators. See our editorial policy and methodology.