On this page (8 sections)
Sod gives you a finished-looking lawn in a day. Penn State Extension calls it usually the most expensive way to establish a cool-season lawn, but also the quickest way to a mature one — and, unlike seed, it can be laid at almost any time of year except when the ground is frozen, with spring, late summer and fall the best times for cool-season grasses. Done right, it roots in weeks. Done wrong, it dries out, shrinks and dies. These steps follow Penn State’s guidance.
1. Measure and order the right amount
Measure the lawn area, subtract beds and paving, and add a small allowance for cutting around curves and edges. Use the Square Footage Calculator for the area and the Sod Calculator for rolls and pallets.
Example: 1,200 sq ft of lawn, 2 × 5 ft rolls, 5% extra.
- 1,200 × 1.05 = 1,260 sq ft
- ÷ 10 sq ft per roll = 126 rolls
Roll sizes vary by farm — use your supplier’s size.
2. Prepare the soil exactly as for seed
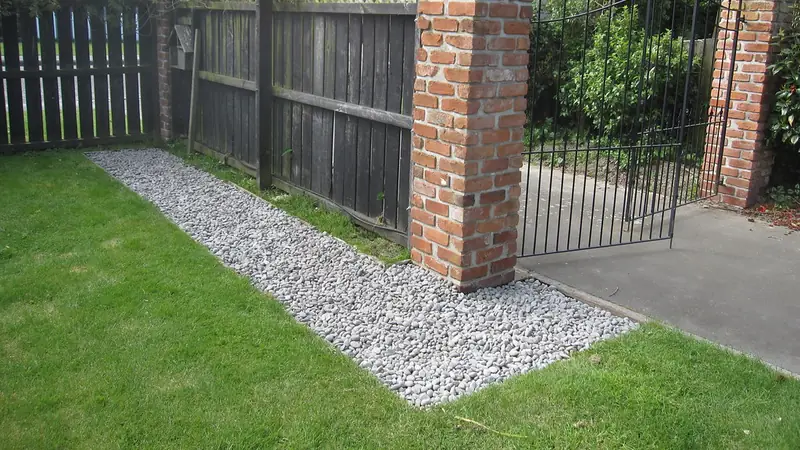
Penn State says soil preparation for sod is identical to preparation for seeding: grade so water drains away from buildings, spread topsoil, work in what your soil test recommends, till, then firm and smooth the surface. It suggests a minimum of 4 to 6 inches (firmed) of good topsoil for quality turf — the Topsoil Calculator works out how much that is. The surface should be smooth and firm but not compacted, and dry to slightly moist when you lay sod: never lay sod on wet soil.
3. Time the delivery
Sod deteriorates quickly — within 24 to 48 hours in warm weather, according to Penn State. Have the soil ready before it arrives and lay it the same day. If you cannot, unroll it turf side up in a cool, shady place and keep it watered.
4. Lay the first row along a straight edge
- Start against a straight driveway or sidewalk, or stretch a string line as a guide.
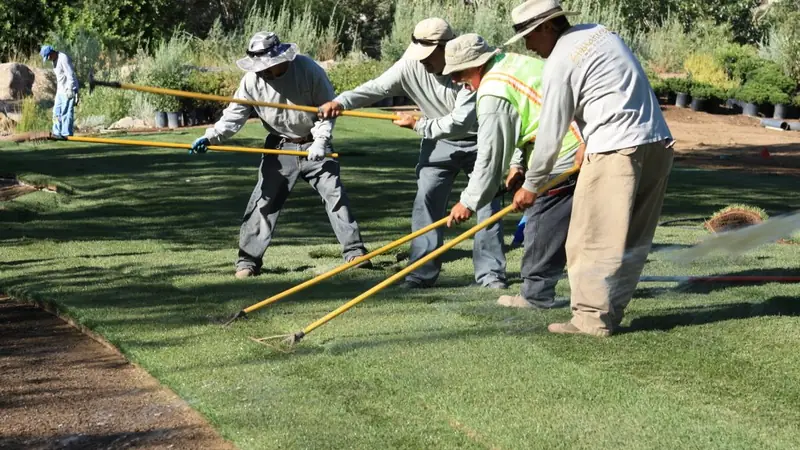
- Lay strips in a staggered pattern, like bricks, so the joints do not line up. This gives the sod strength and keeps it in place.
- Butt ends and sides as tightly as you can. Gaps dry out and slow knitting.
- If a gap appears, do not stretch the sod — move the whole piece with a steel rake, or cut a scrap to fit.
- On slopes, pin each strip with stakes as you lay it and remove them once rooted.
- Cut the overlapping ends at the edges with a sod knife.
5. Roll and fill
Before watering, smooth the surface with a lightweight roller and lightly tamp any raised areas so the mower will not scalp them. Then walk the lawn with a bucket of soil and fill small gaps between strips.
6. Water immediately — and keep watering
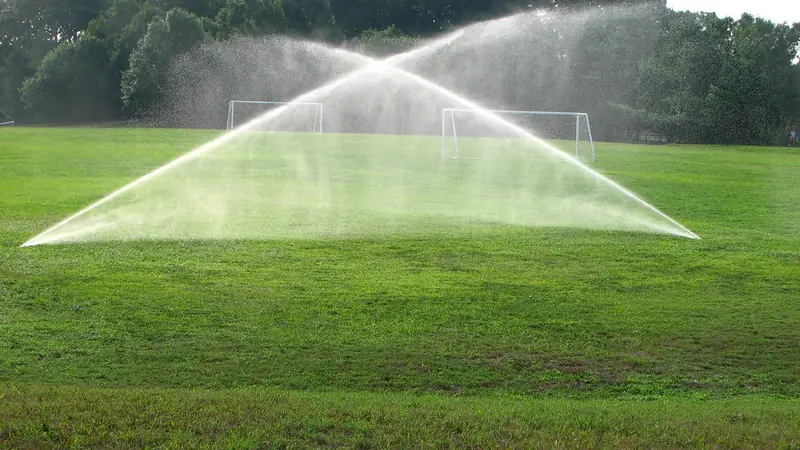
Penn State calls lack of water the most common cause of sod failure. Water thoroughly so it moves through the sod and wets the soil underneath, then keep watering (daily if needed) until the sod is well rooted — which can take up to 4 weeks depending on site and weather. Lift a corner: if roots are holding into the soil, it is rooting. See how to water new grass seed and sod.
7. Keep off, and mow carefully
- Do not walk on the sod once watering begins — it leaves depressions. Keep traffic off until it is well rooted.
- Penn State advises against herbicides on newly laid sod or on the soil before sodding; they interfere with rooting.
- Start mowing once the grass is about one-third taller than your mowing height (see how high to mow).
Sources
- Penn State Extension — Lawn Establishment (P. Landschoot) — Seeding and sodding times, seedbed preparation, seed labels and pure live seed, starter fertilizer, straw mulch, sod installation and care of new lawns (Pennsylvania).
Sources were checked when this guide was published. Where published guidance differs, this guide says so; for structural work, follow your local specification.
Worked examples are generated by the same tested calculation engine as our calculators. See our editorial policy and methodology.